So I have a step by step tutorial today for you using both Couture Creations Embossing Folders and Dies, and Core'dinations Cardstock.
The Core'dinations Cardstock and Couture Creations Embossing Folders are a match made in heaven. As the card stock has a different colour core, once it has been embossed and then sanded the pattern from the embossing shows in a soft distressed way.
If you would like to keep up to date with all that happening and for the newest releases from Couture Creations sign up for the newsletter here, and like them on Facebook here.
If you would like to know more about Core'dinations cardstock, check out their website here.
"US" Step by Step Tutorial:
By Mel Connell

You will need:
- Three different Couture creations Doily Dies. I have used Ivy Set Doily Dies - CO723222, Blossom Yarn - CO723114, Damaris - CO723477 and Mimi - CO723476.
- One Couture Creations Embossing Folder. I have used Large Damask Flourish - CO723449.
- 4 sheets of Core'dinations Cardstock. All the same colour.
- 2 sheets of accent cardstock. I have used Kraft but you could use black or white also.
- An assortment of flowers.
- one colour of embossing power to suit your colour theme.
1. Cut 9 squares of Core'dination Cardstock at 5" square.

2. Fold all nine squares corner to corner to create a cross through the centre of each piece. I used my bone folder to make crisp sharp folds. Open all nine pieces back out flat.


3. Fold all four corners into the centre point. Again use your bone folder to get sharp folds. Repeat on all nine pieces.


4. Place each folded pice inside your embossing folder and run through your machine to emboss. Emboss all nine folded pieces of cardstock.


6. With some craft glue add a small drop on the inside tip of each folded flap of cardstock. When gluing down, push the card away from the centre point slightly so the cardstock creates a small pillow. Hold in position for a second until the glue grips. Repeat this for all four flaps on each piece of card stock. Do all nine squares. In the third picture here I have put a black marker dot to show you the centre and how the tips are set back slightly when glued in place.


7. From one sheet of your accent cardstock cut a square 11 1/4". glue or double side tape all nine pillows into the centre of this square. You should have a small board around all four sides.

8. Border Punch around the outside of your remaining piece of Core'dinations cardstock and adhere in the centre your pillow piece.

9. Add some adhesive bling or gem brads to the centre of each pillow.

10. From the second sheet of accent cardstock, cut your self three doily's and three flourishes using your Couture creations dies.

11. Heat emboss the three flourishes. I coat each piece and heat set twice to give a thick smooth finish.


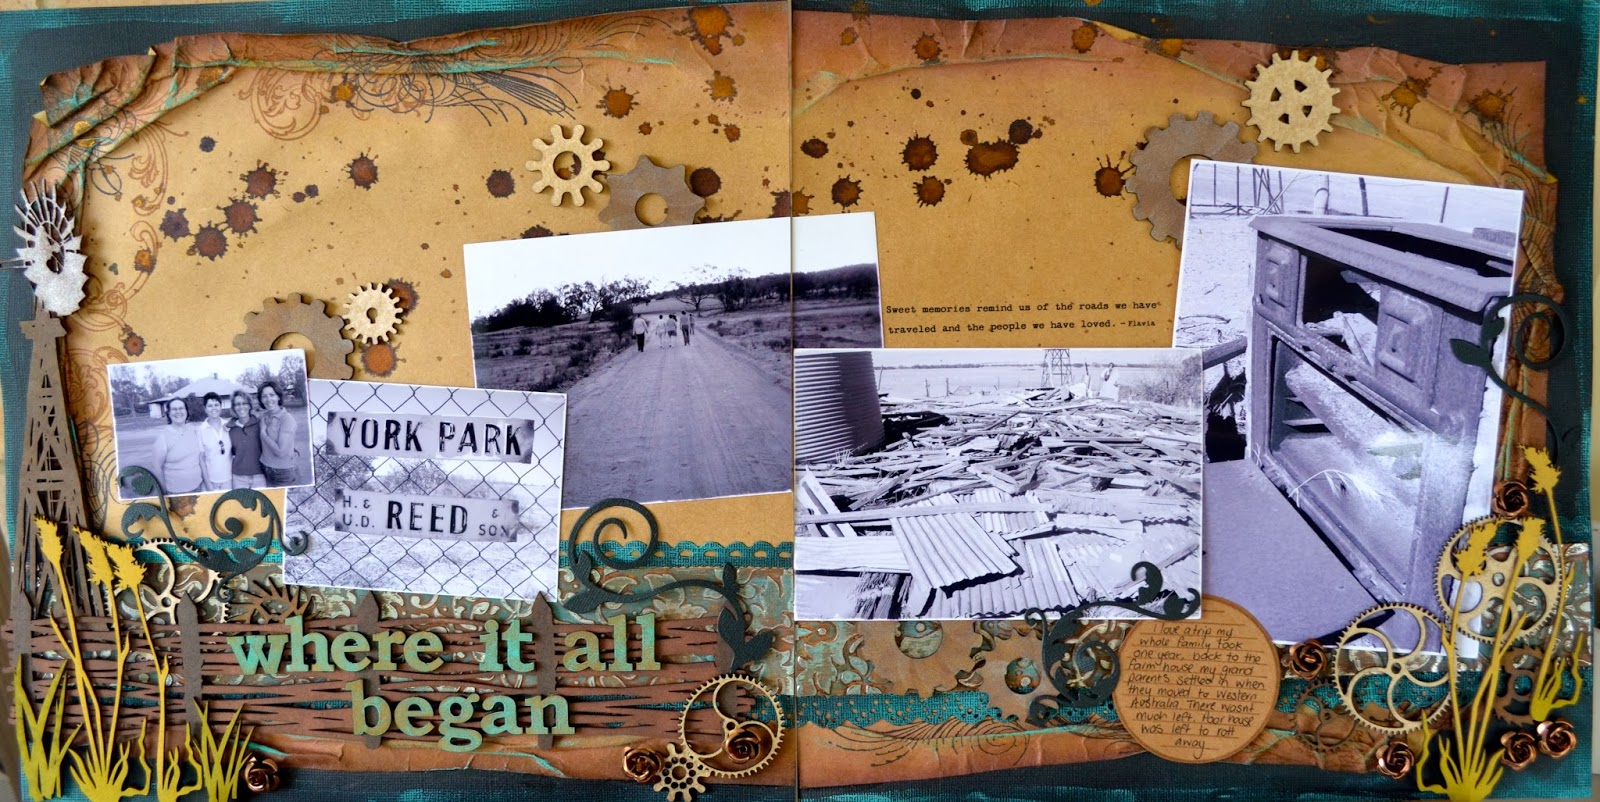
12. Mat your photos with the accent cardstock. Adhere into place on your layout background, your photos and the three doily die cuts.

13. Adhere into place your selection of flowers and sprays.

14. Adere your three Heat embossed flourishes onto your layout.


15. Add your title, any smaller supplementing words and embellishments as required.


I do hope you enjoyed my little tutorial. I'd love to hear from you if you created your own page following these steps.
Don't forget if you would like to keep up with Couture Creations latest releases and all the gorgeous creations that are on their blog, sign up for their newsletter and like them on Facebook. Links at at the start of this post.